

The Loft Surface tool is used in surface modeling to generate a smooth transitional surface by connecting multiple section profiles. Select two or more section profiles in sequence. Optionally, specify the start and end profile conditions, guide curves, and path constraints to control the shape of the lofted surface.
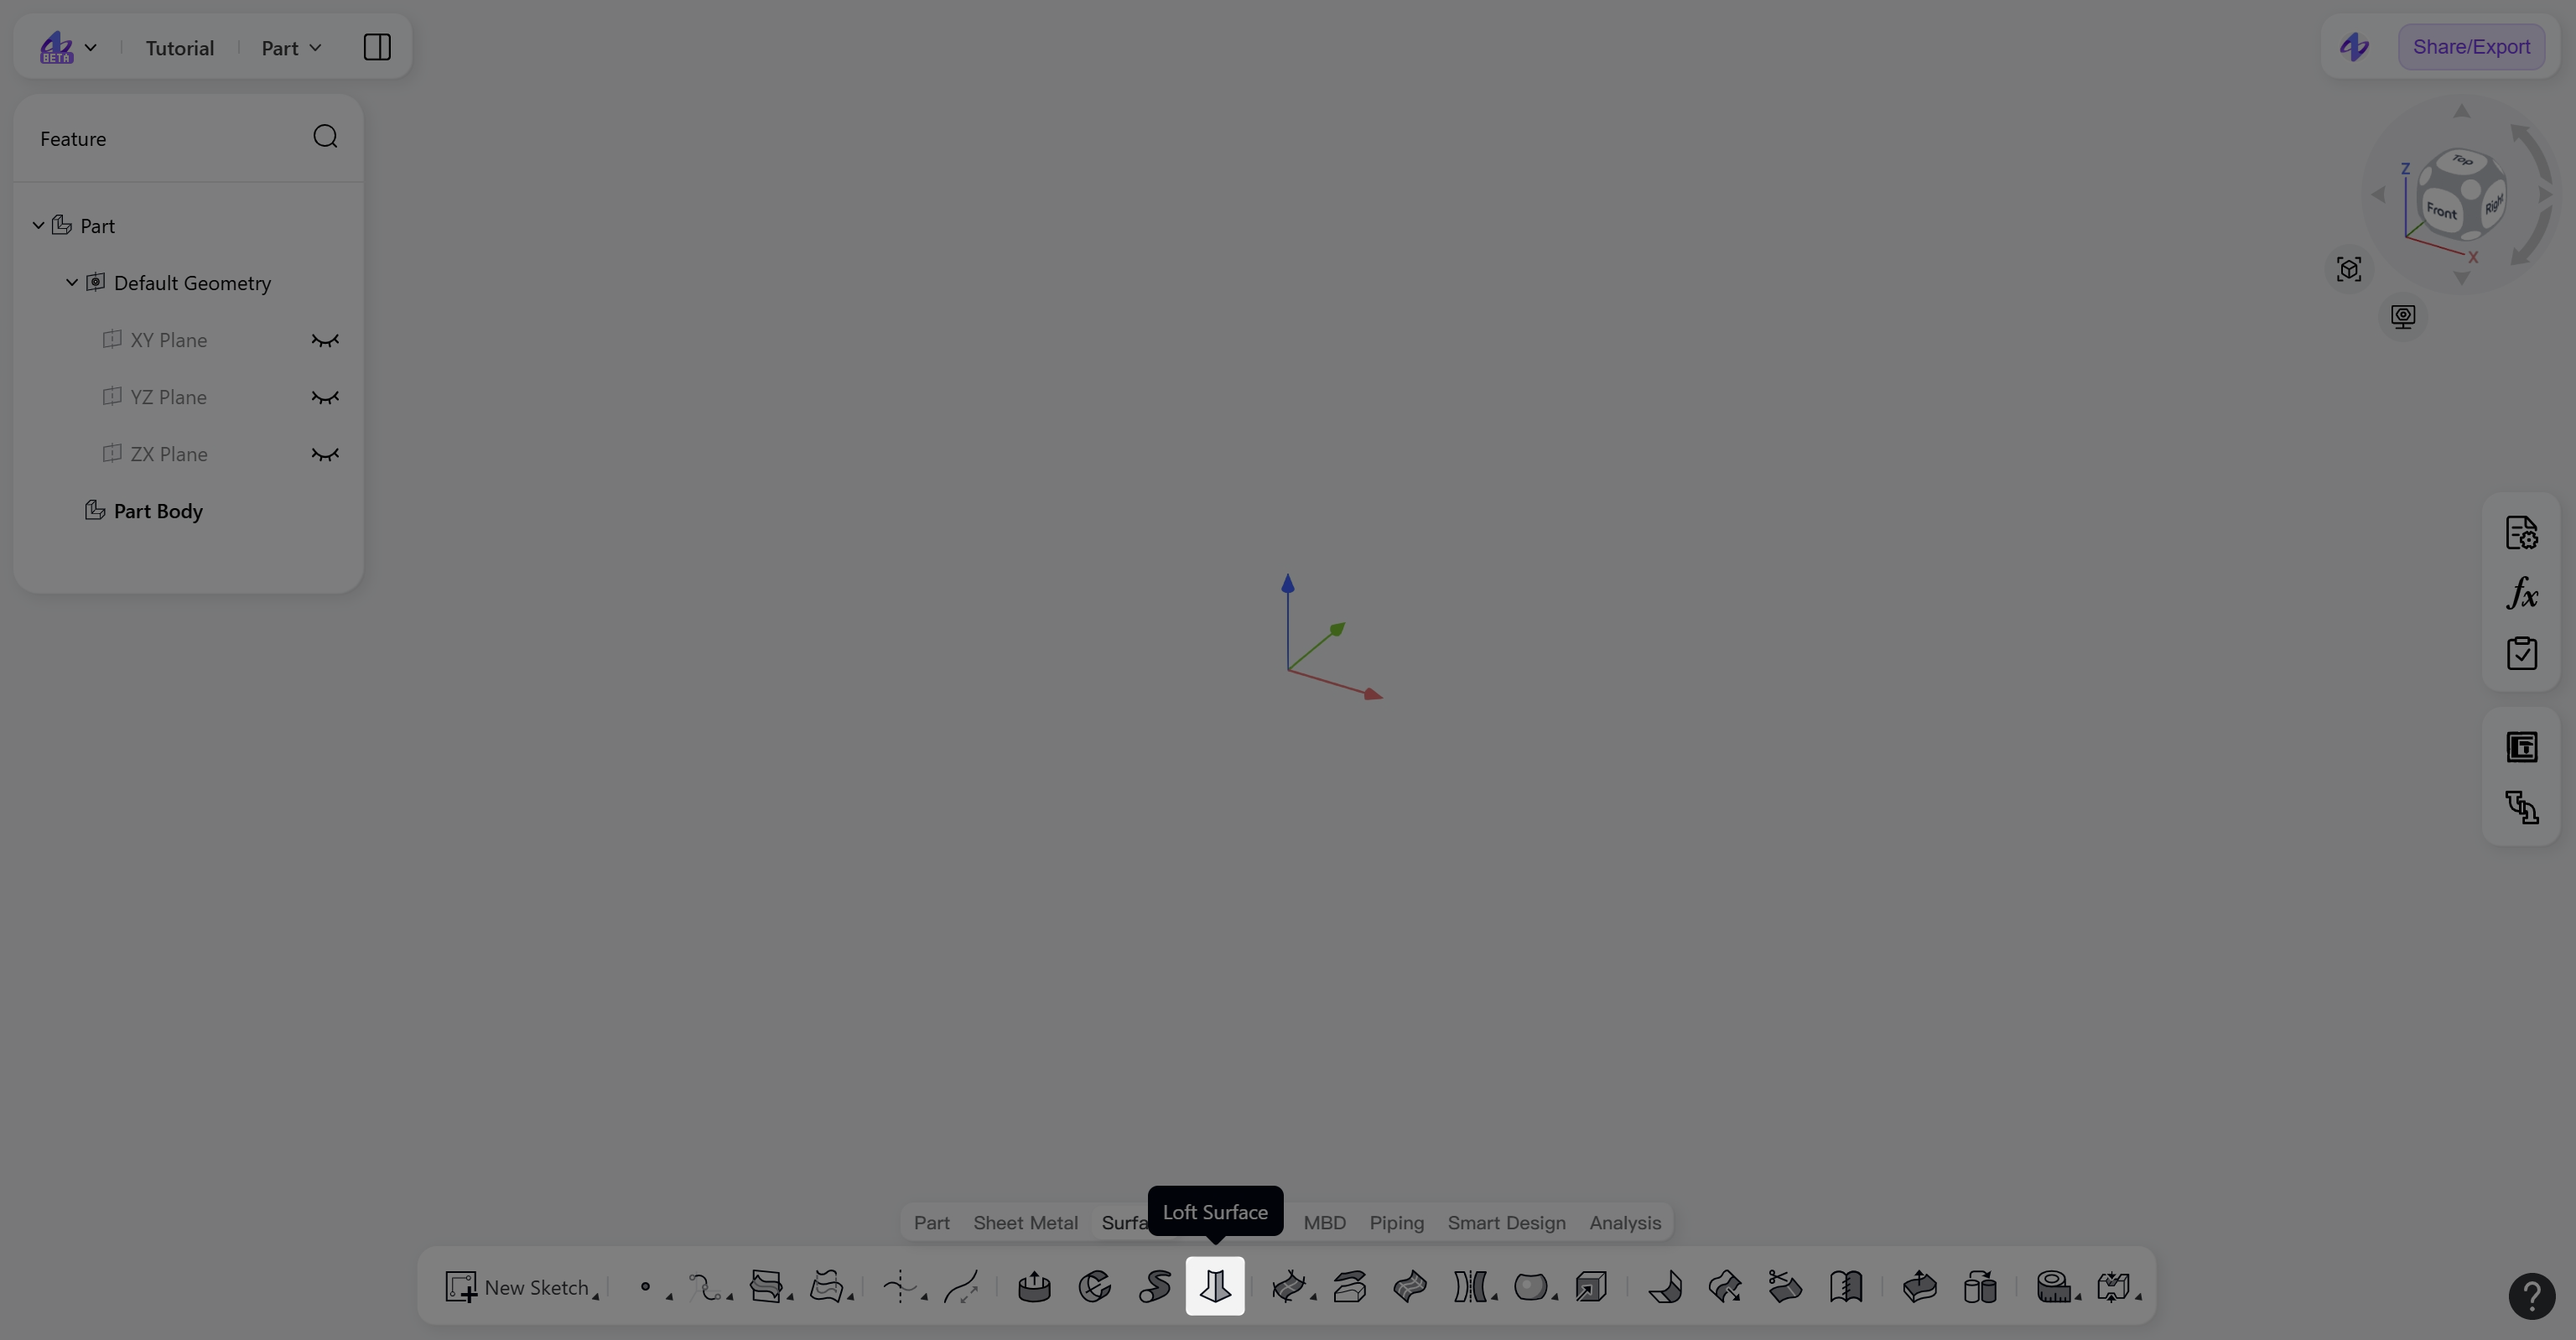
Steps
Click the "Loft Surface" icon in the toolbar to enter the Loft Surface mode.
The "Loft Profile" object selection box is activated by default. Define the loft profiles:
Sequentially select multiple profiles on the model (sketch profiles, model edges, feature curves).
(Optional) Use the triangle button next to the profile object to adjust the loft generation order.
(Optional) The arrow on the left of the profile object expands a sub-object selection box, allowing you to select more continuous curves on the model to create a Composite Curve as the loft profile.
Set "Start profile condition" and "End profile condition" to control the loft profile conditions.
(Optional) Click "Guide Curves" to select one or more guide curves to constrain the direction and local shape of the surface between sections.
(Optional) Check "Path" to specify a reference trajectory for loft generation, thereby controlling the overall loft shape.
Click "Confirm" to generate the lofted surface and exit the Loft Surface mode.
Loft Profile Condition
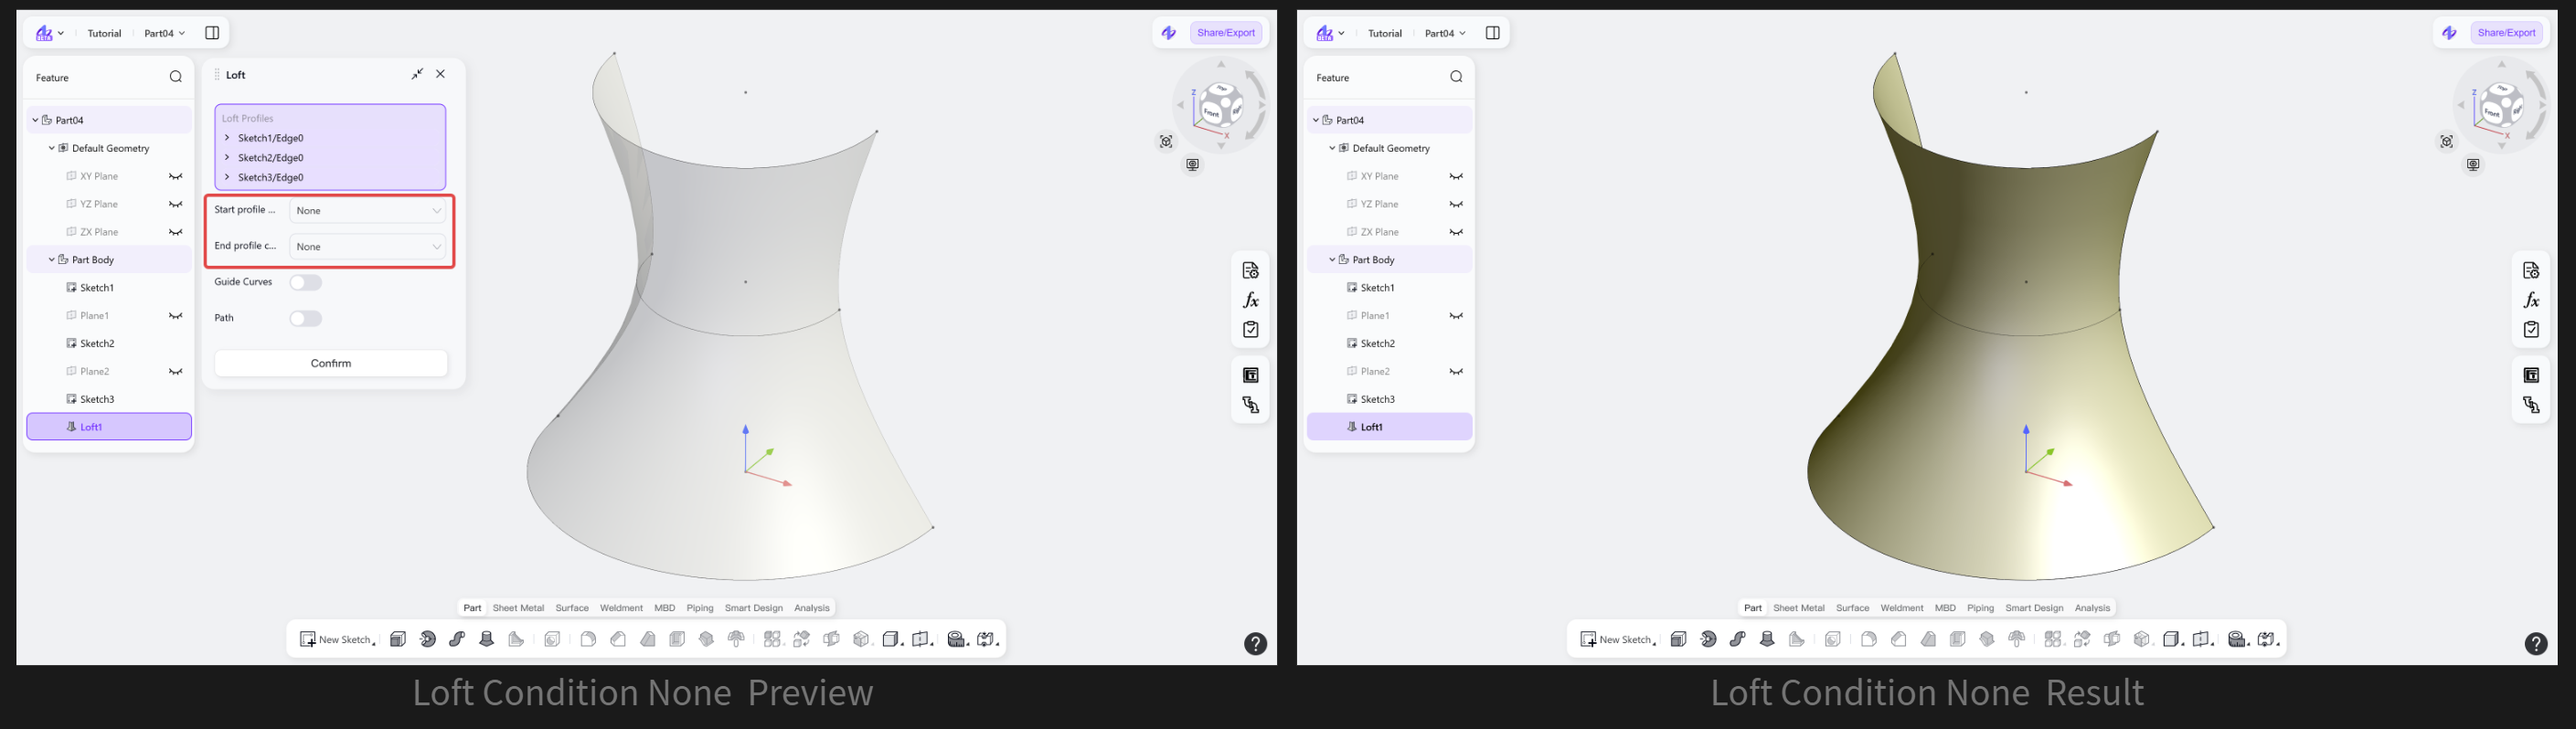
Loft Condition: None
Does not apply additional constraints to the start or end direction of the loft profile.
Steps: Select "None".
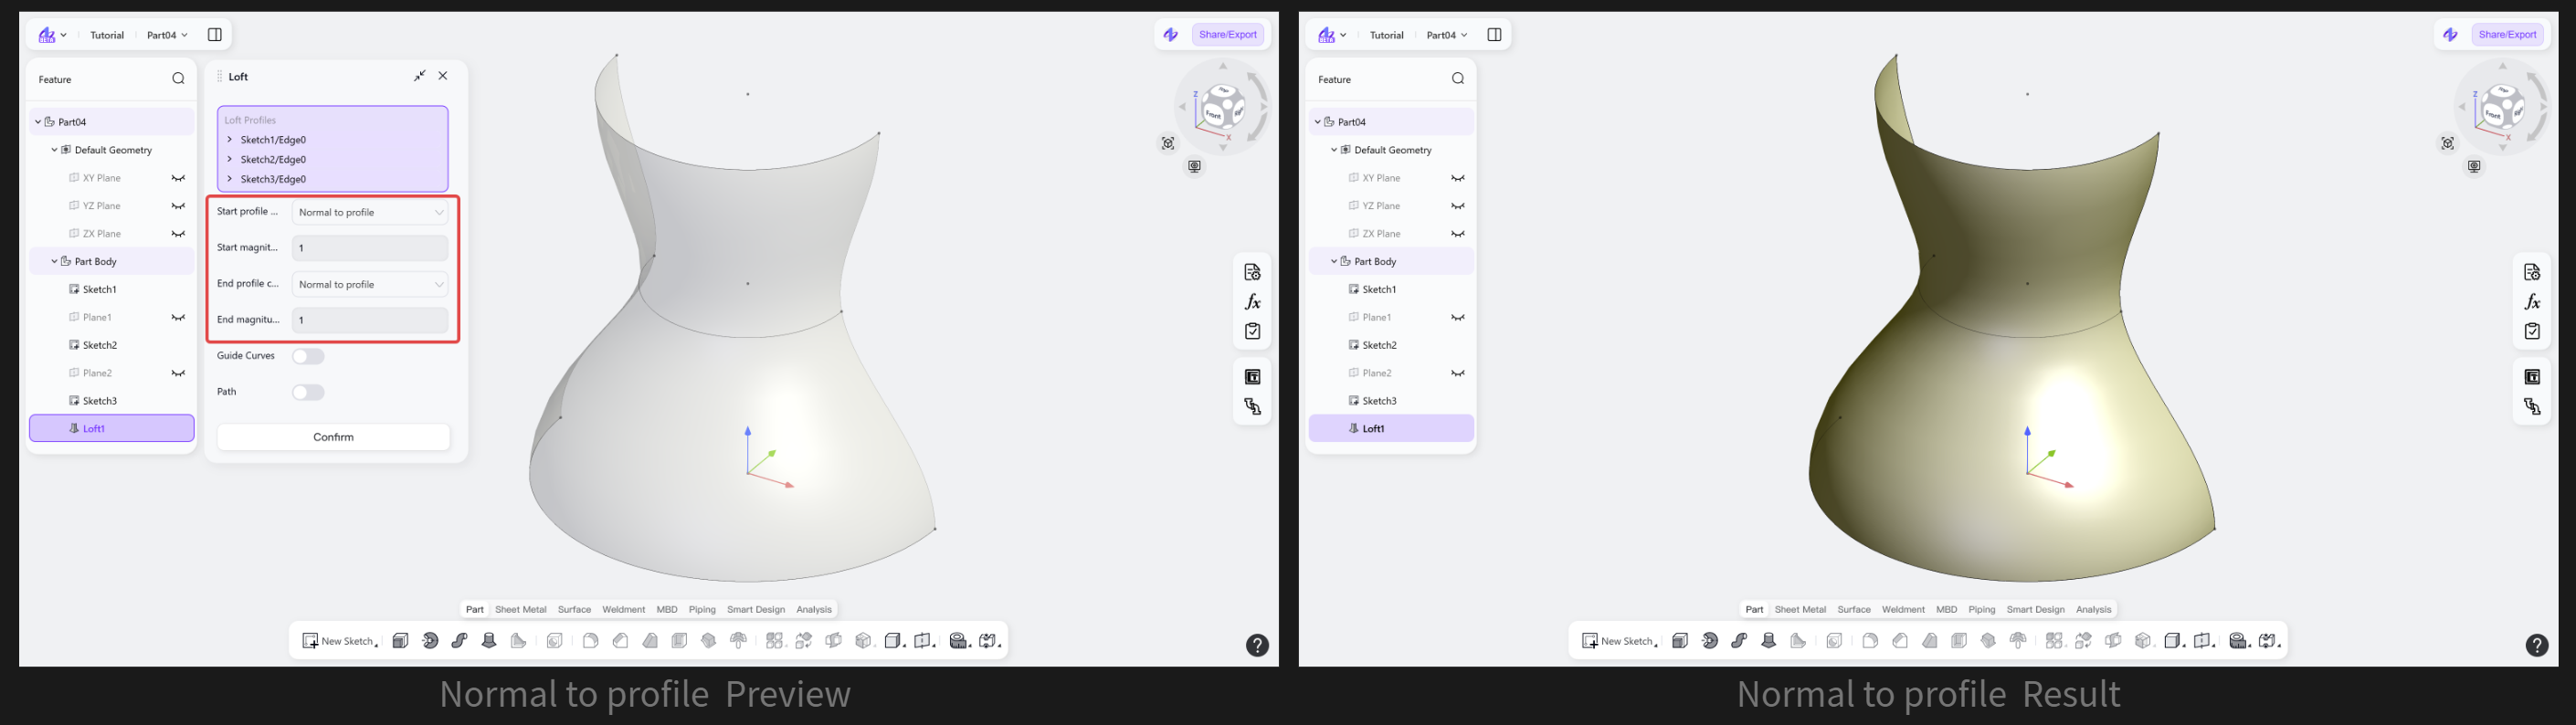
Loft Condition: Normal to profile
Makes the transition direction at the start or end of the loft perpendicular to the profile plane.
Steps
Select "Normal to profile".
(Optional) Set "Start magnitude" to control the influence of the profile tangential transition.
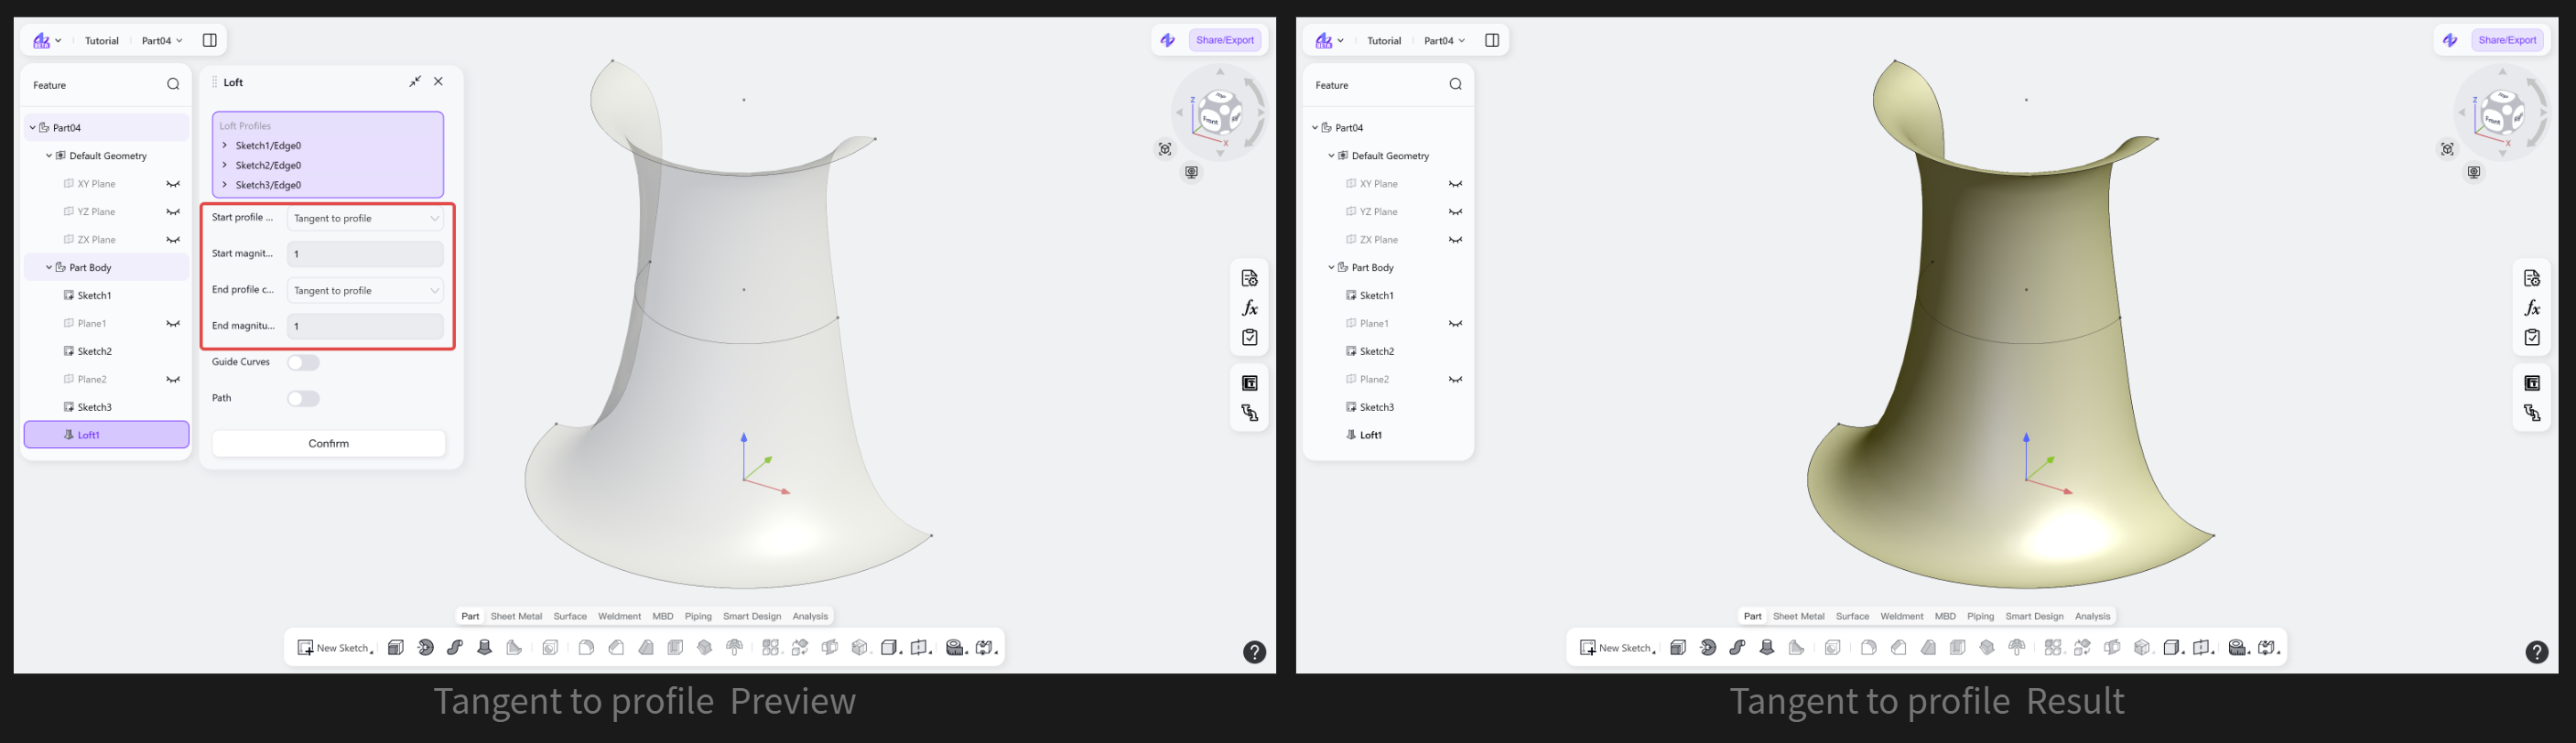
Loft Condition: Tangent to profile
Makes the transition direction at the start or end of the loft continuously tangent to the profile curve.
Steps
Select "Tangent to profile".
(Optional) Set "Start magnitude" to control the influence of the profile tangential transition.
Loft Guide Control
Loft Guide Control: Guide Curves
Selects one or more guide curves to constrain the direction and local shape of the surface between sections.
Steps
(Optional) Enable "Guide Curves", then select one or more guide curves.
(Optional) Use the triangle button next to the profile object to adjust the order of guide curves.
(Optional) The arrow on the left of the profile object expands a sub-object selection box, allowing you to select more curves on the model to create a Composite Curve as a Guide Curves.
(Optional) "Trim Guides": trims excess or overhanging guide curve segments so that the generated surface is strictly controlled between the loft profiles.
Loft Guide Control: Path
The path serves as a reference trajectory for the centerline of the loft profiles and controls the overall loft shape.
Steps
(Optional) "Path": select a curve path in the graphics area.
Enter "Section Count" to specify the number of sections (cross-sections) along the loft path that participate in surface generation. A higher section count allows the lofted surface to follow the path more closely, while a lower count produces a simpler surface.
Notes
At least two profiles must be selected.
When using "Guide Curves", the guide wires must intersect with each loft profile to ensure the loft succeeds.
When using "Path", the path does not need to intersect with the loft profiles to achieve shape control.